
I like making holidays special for my girls, but I don’t necessarily want to do something terribly complicated. These red velvet pancakes are surprisingly simple and super festive.
Also, they aren’t loaded with sugar, which is important to me. With the cream cheese drizzle, you don’t need gobs of sugar in the pancake themselves (although you can certainly eat the pancakes without the glaze – they’re delicious either way).
My little girls gobbled them up (and so did I!). I was really impressed by how closely they mirrored the texture and flavor of a red velvet cupcake.
Red Velvet Pancakes with Cream Cheese Drizzle
(adapted from my favorite buttermilk pancake recipe)
- 6 Tablespoons unsalted butter, melted
- 2 Tablespoons red food coloring gel (you can buy it in the cake decorating section at Michael’s)
- 1/2 cup milk
- 1/2 cup buttermilk
- 2 eggs
- 1 Tablespoon oil
- 1 teaspoon white vinegar
- 1 teaspoon vanilla
- 1 cup all-purpose flour
- 1/4 cup unsweetened cocoa powder
- 4 teaspoons baking powder
- 4 Tablespoons sugar
- 1 teaspoon salt (reduce to 1/2 teaspoon if your butter is salted)
In a small mixing bowl, beat together the wet ingredients (I found using hand beaters mixed the food coloring in the best). In another bowl, whisk together dry ingredients. Whisk the wet mixture into the dry mixture just until combined.
On a greased skillet over medium heat (I set it at 250 degrees on my electric griddle), drop 1/4 of batter and let cook until bubbles form and pop on the top. Flip carefully over and cook another 2-3 minutes on the other side.
Cream Cheese Drizzle
- 1/2 cup whipping cream
- 2 ounces cream cheese, softened
- 3/4 cup powdered sugar
- 1 teaspoon vanilla
In a mixing bowl, whip the cream with beaters until peaks form. Add the cream cheese, powdered sugar and vanilla (if it seems too thin, you can add a bit more powdered sugar).
Spread or drizzle over your pancakes.
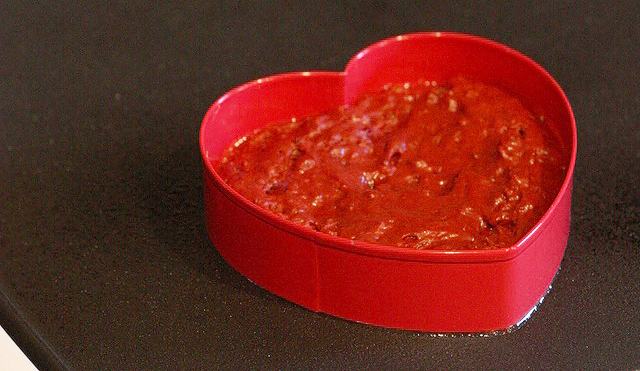
If you’re making these for Valentine’s Day, you might want to do heart-shaped pancakes. I’d never used a metal cookie cutter before to make shaped pancakes, but it was so simple and turned out so nicely that I’ll definitely be doing it again (I bought this cookie cutter for 99 cents at Michael’s)
Here are a few tricks:
- spray the inside of your cookie cutter so your batter doesn’t stick
- don’t overfill it. Put a small scoop (I used about 2 Tablespoons) of batter in the center and then use a small spoon to spread it all the way to the edges. It’ll rise a lot!
- Wait until your pancake is mostly cooked through to flip it. If you do it too early (which I did the first time), it won’t hold its shape. I cooked mine for about 4-5 minutes on the first side until it looked very dry around the edges, and then gently removed the cookie cutter, flipped the pancake, and let it cook about 1 more minute on the other side.
And, you can certainly just spread the cream cheese topping over the top with a knife, but if you want the look of the drizzle, here’s a super easy trick that requires no special equipment.

Just put a few spoonfuls of the cream cheese mixture in a plastic bag, snip off the end with scissors (don’t make the hole too big), and squeeze it back and forth over your pancakes. Even someone with no artistic talent at all – that would be me – can make a pretty snazzy looking topping.
Happy Valentine’s Day!
Get Your Free Printable

Subscribe to our newsletter today and get our free printable... No More, "Mom, I'm Bored!"
Janssen
Latest posts by Janssen (see all)
- Top 10 Parenting Books for Raising Boys - July 22
- Honk! Books for Your Truck/Train/Car-Loving Child - March 25
- 10 St. Patrick’s Day Books for Kids - March 10